Christmas is bearing down on us fast. It is so easy to get caught up in the whirlwind or all the activity. Two of my favorite things to do during the holiday season are attending special holiday programs that heighten the joy of the festive season and preparing recipes I wouldn't normally make but really enjoy.
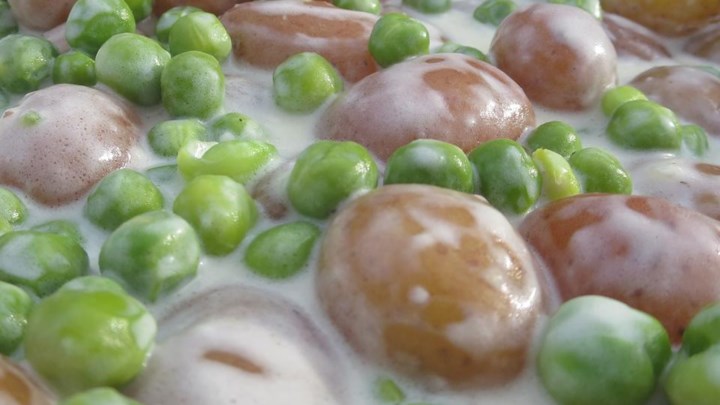
This recipe is one Olivia found at www.allrecipes.com. It is a simple and good way to use up left over ham and possibly potatoes (Olivia chopped up baked potatoes when she made it). It uses ingredients you probably already have on hand and makes a creamy, comforting casserole.
Olivia and I want to take the time to wish each and every one of you a happy, healthy 2018. We also want to wish you a warm and satisfying Christmas filled with the joy in knowing that unto us a child is given and unto us our Christ is born...Emmanuel God with us! Merry Christmas!
-Nanette

HAM AND CHEESE CASSEROLE
Ingredients
- 6 small potatoes, peeled and cubed
- 3 tablespoons butter
- 2 cups cubed fully cooked ham
- 1 small onion, finely chopped
- 1/4 cup butter
- 3 tablespoons all-purpose flour
- 1 1/2 cups milk
- salt and ground black pepper to taste
- 1 (8 ounce) package shredded Cheddar cheese
- 1/4 cup bread crumbs
Directions
- Place potatoes into a large pot and cover with salted water; bring to a boil. Reduce heat to medium-low and simmer until tender, about 20 minutes. Drain.
- Preheat oven to 350 degrees F (175 degrees C).
- Grease a 1 1/2-quart baking dish.
- Melt 3 tablespoons butter in a skillet over medium heat. Stir in the ham and onion; cook and stir until the onion has softened and turned translucent, about 5 minutes.
- Stir potatoes into ham mixture; transfer to the prepared baking dish.
- Melt 1/4 cup butter in a saucepan over medium heat. Stir flour into melted butter until smooth.
- Gradually whisk milk into flour mixture; season with salt and black pepper. Continue cooking and stirring until thickened, about 2 minutes.
- Reduce heat to medium-low and stir Cheddar cheese into the white sauce until melted.
- Pour sauce over ham and potatoes.
- Sprinkle bread crumbs atop casserole.
- Bake in the preheated oven until sauce is bubbly and browned, 25 to 30 minutes.